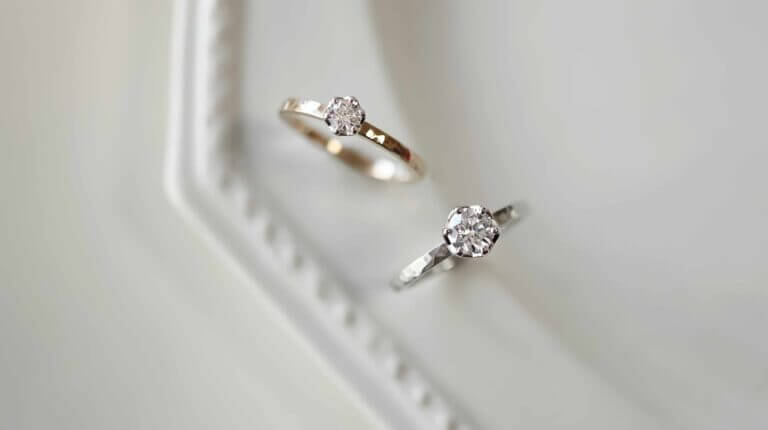
Many people may want to wear a pair of rings to commemorate their relationship.
It is nice to choose from a department store or buy from a favorite brand.
However, we also recommend that you join the silver ring making class.
By making them by hand, the process of completion will remain as a memory and become more attached to the product.
But it is difficult to imagine how to produce them.
Therefore, we will introduce how to make silver rings in detail in this issue.
There are two ways to make a silver ring!
There are two main ways to make silver rings. One is to use "silver material" to create a full-fledged finish, and the other is to use "silver clay" as a material to create a simple ring. Generally, the former is employed by professionals in ring-making workshops, while the latter is available in beginner kits for general consumers.
The advantage of the beginner's kit using silver clay is that it can be created at home.
On the other hand, they do not have access to professional support when they fail.
Considering the quality, we recommend that you have your silver ring made using silver material at a store where silver rings can be handmade.
The processes and characteristics of the two are very different, so it is important to distinguish between the two and understand them if you are considering handcrafting.
First, let's review how the rings are made.
Metal rings include forged and cast rings.
It is also important to remember that there are two types of metal rings: forged rings and cast rings. Forging is read as "tanzo" and is a process traditionally practiced in the world of blacksmithing. A chunk of metal is prepared, and it is beaten or stretched to bring it close to the desired shape. It is often used to make wedding rings by hand, and since the metal is forged, it is easy to make a strong finish.
Casting, on the other hand, is made by pouring molten metal into a mold. It is generally used for mass production because it can be made efficiently as long as the molds are prepared.
The process of making rings also includes metal engraving, which refers to the process of decorating metal. The main process is to literally engrave the metal using a special tool called a "tagane" to create the design. In some cases, however, the term "engraving" is used to include all jewelry and accessory making.
How to make a silver ring using silver material
The method of making a silver ring with silver material consists of six steps. We will introduce them in order, so check out the specifics and the overall process.
Even though there are some differences, the process of making a handmade silver ring by the forging method is approximately the same.
Measure the size and cut the silver material
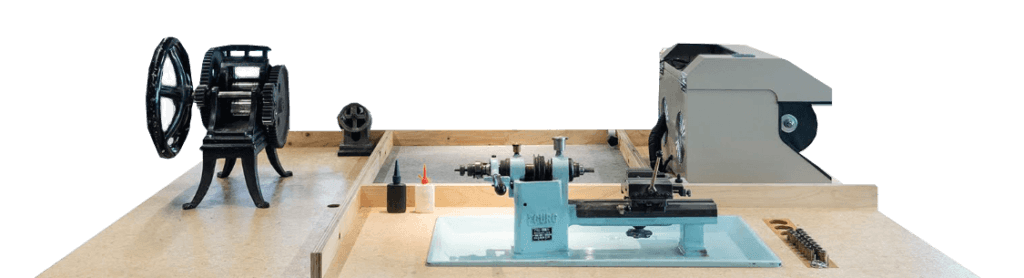
The silver material used in MITUBACI workshops is 925 Sterling silver, which is a material used to make silver rings, and is made in long pieces of uniform width and thickness, similar to wire. This metal is made by mixing silver with other metals in the ratio of 92.5:7.5 to make it easy to handle as jewelry.
There are several types of silver material, including square bar, round wire, and plate. The first step is to select the type that would fit the shape of the ring you want and cut it to the size of the ring. Measure your finger size by wrapping a piece of paper or other material around your finger, and place it, stretched out, against the silver material to determine the area to be cut. Then, using a diamond file, shave the silver material little by little and finally cut it to the length around your finger.
anneal
To shape and harden metal, it is necessary to beat it or apply pressure with a roller. However, it is not easy to perform these operations on silver that has just been cut. If they are done too aggressively, there is a risk of cracking, so annealing must be performed before that. This refers to heating the metal strongly with a gas burner or the like and then cooling it rapidly, which softens the metal and makes it easier to perform the above operations.
Imprint.
If you want to engrave a date, initials, or symbol on a silver ring, this should be done at this stage. The same applies if you want to engrave a pattern, etc., both of which must be done on as flat a surface as possible before the silver material is formed into a ring. Basically, the engraving is done by hammering a bar-shaped engraving with a pointed tip. In many cases, when the ring is to be used as a wedding ring, the date of joining the family is engraved or the names of each other are put on the ring.

Form into a ring shape
The next step is to round the silver material into a ring shape. Since it is annealed, it is easily deformed, and there is a risk of denting it if it is struck directly with a hard tool such as a hammer. Therefore, it is better to proceed carefully with a wooden mallet. When the two ends are finally placed facing each other, it is also important to leave as little space as possible between them. This will facilitate smooth welding.
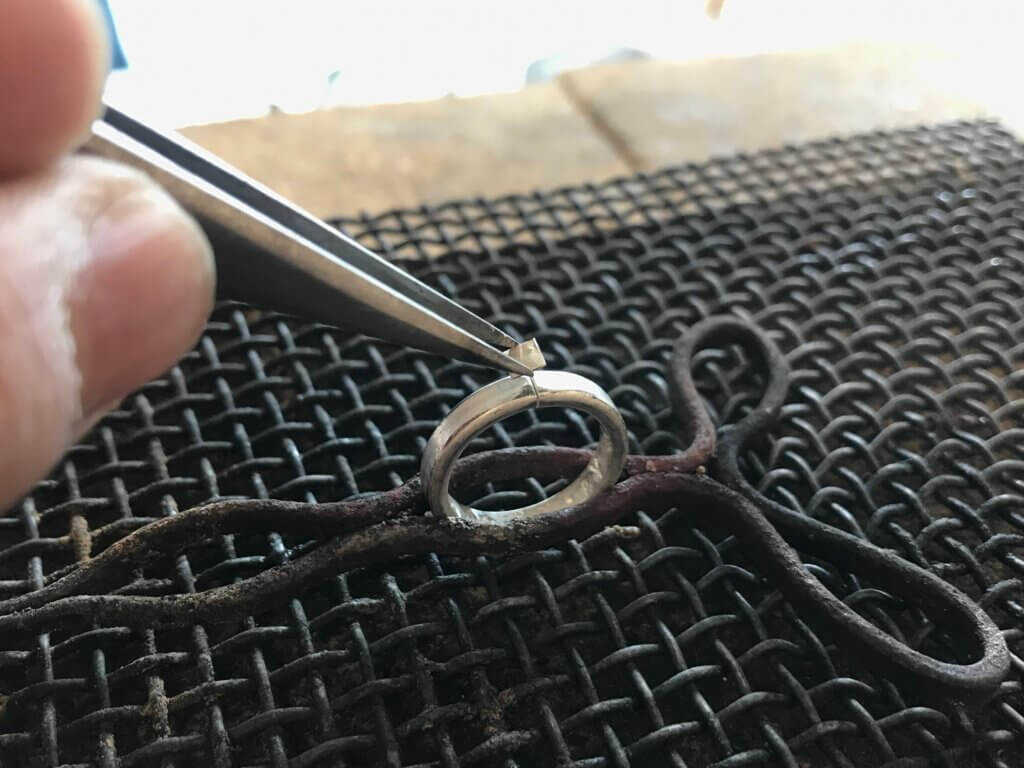
Soldering
At this point, the ring is not yet ring-shaped, so the joints of the rings must be joined. For this purpose, silver solder, which has a lower melting point than the silver material of the main body, is used. Put it on the gap between the joints and heat it with a burner to melt it. If the wax material melts and enters the gap, it has been successfully melted. Once the wax is melted, turn off the flame and do not heat the ring more than necessary. Using tweezers, transfer the ring to a container of water to cool. Since the conductivity of metal is high, it cools in an instant.
Polishing and finishing
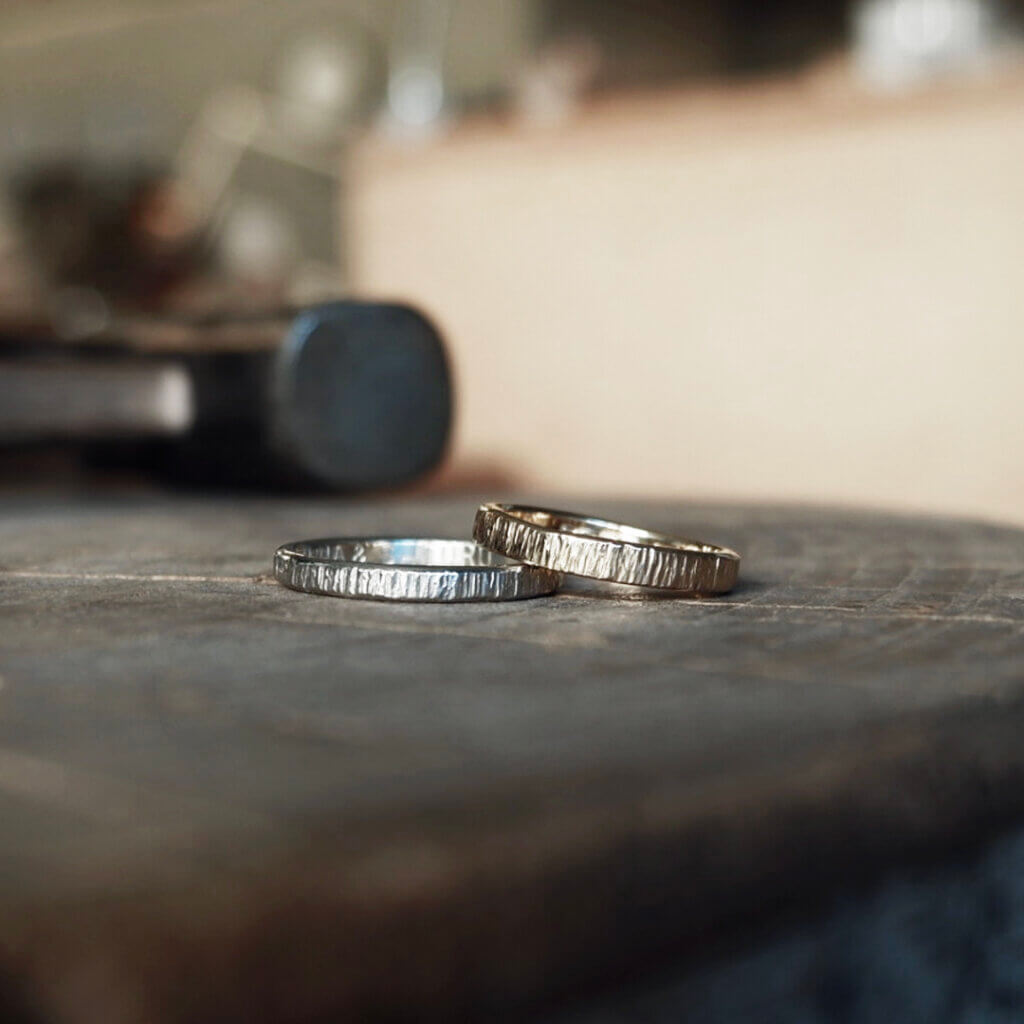
The final step is to shape and polish the piece into a practical silver ring. A file, sandpaper, or silicon pointer can be used for polishing. If silver solder protrudes and stands out, it is important to scrape it off firmly. If you want to enhance the design and originality of the ring, you can also add a hammered pattern to the surface at this time.
Now it's ready to be cleaned up and done!
How to make a silver ring using silver clay
There are five steps to making a silver ring using silver clay. By following the steps and proceeding properly, you can improve the quality of the finished product.
Here is a summary of the approximate process.
If you purchase a kit, please refer to the instructions on that kit, as they vary from product to product.
Molding
The process starts with forming a ring shape. The material is pure silver (99.9% silver) called silver clay or art clay silver. As in the molding of ordinary clay, first knead a lump of silver clay by hand to make it easier to handle. The kneaded clay is then stretched into a string shape, taking into account the length around the fingers, and finally the two ends are joined to form a ring. Note that silver clay shrinks when it dries. If you take this into account and make the ring about 10-151 TP2T larger, it will be the right size after it dries. Also, it seems to be less likely to fail if you knead it well first.
Let it dry.
The next step is to dry the hair using a hair dryer. You can wait for the hair to dry naturally, but this can take up to a day. In contrast, a dryer only takes about 30 minutes, making it easier to proceed to the next step. In any case, it is important to understand that once it dries, it cannot be returned to its viscous state. It is impossible to redo the process, so it is essential to shape it well in advance.
decorate
At this point, the surface is not very smooth and there are usually still finger press marks and undulations. Therefore, a file or sponge is used to clean it up. Once that is done, decorations such as patterns and letters can be applied. After drafting on the body with a pencil or other tool, it is shaved with a cutter or other tool.
Firing
Firing a silver clay ring to transform it into a silver ring. Prepare a mini pot and set solid fuel in it. Place the silver clay ring on the net, light the solid fuel with a match, and wait until it burns out.
Polishing and finishing
Do not touch it immediately after baking is finished. Wait for a while until it cools down to avoid the risk of burns. When the temperature has cooled sufficiently, polish it with a stainless steel brush. At first it will be white and not look like silver, but as you polish it, it will become shiny. What follows is finishing with a polishing spatula or fine-grit water-resistant paper. If you polish carefully with these, it will become shiny like a mirror.
Handmade silver rings at MITUBACI!
Even if you know how to make a silver ring, you may still be worried about whether you will succeed.
In that case, we urge you to turn to a professional jewelry craftsman.
MITUBACI TOKYO's silver ring making class allows you to complete a handmade silver ring/couple rings in just 2~3 hours.
You can take it home with you the same day, so I recommend a visit on your anniversary!
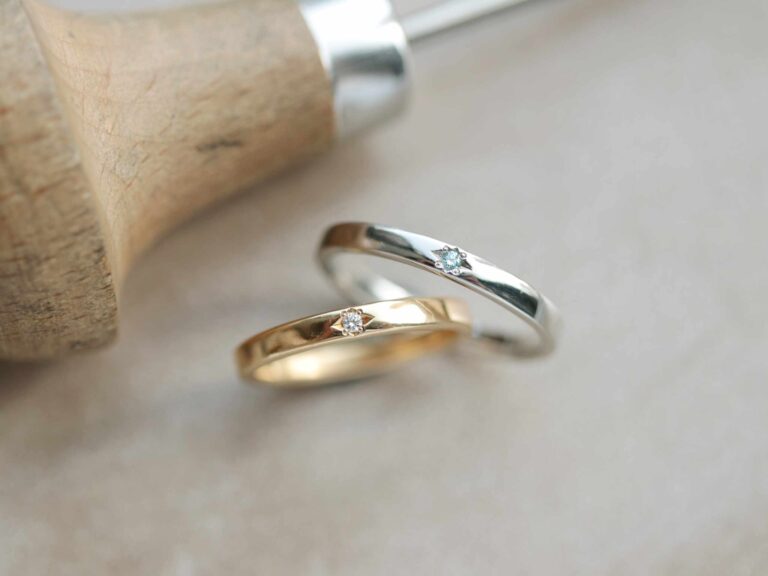
Another key point is that jewelry artisans can use the same engraving tools they normally use. Using the same tools as professional craftsmen, silver rings can be produced using the same forging method used to make wedding rings.
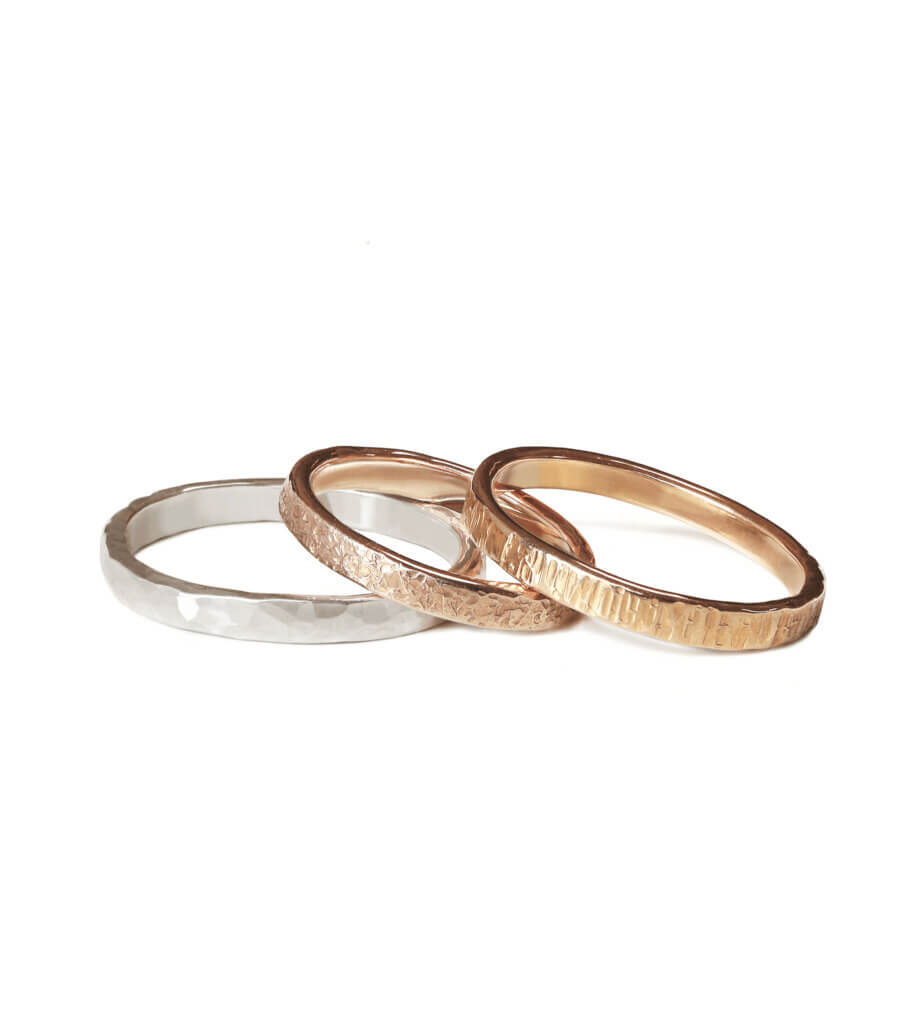
Birthstones and diamonds can be added as finishing touches, and gorgeous plating in pink or yellow gold is also available.
Enjoy the process of making silver rings!
There are two ways to make silver rings: using silver material or silver clay. The former is for professionals, but it is not impossible even for beginners if they have a proper understanding of annealing, engraving, and other processes, and with the help of professional craftsmen.
By working with a professional, you will be able to work with confidence and have time to enjoy the process of making the product, and your handmade experience will be a wonderful memory.